
Wi-Fi 7 has been trickling down from flagship home routers into smaller form factors, and…
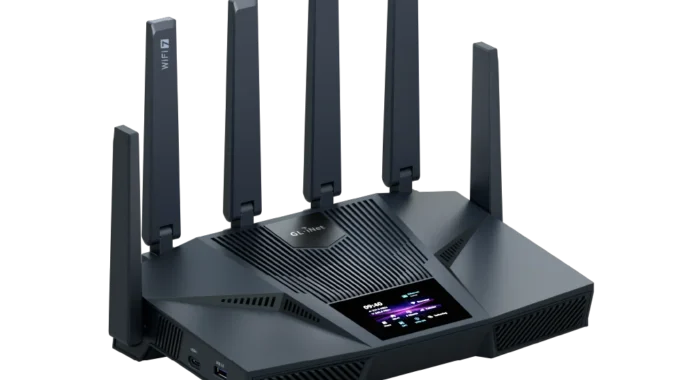
GL.iNet Flint 4 (GL-BE14000) Tri-Band Wi-Fi 7 Home Router
I went into this review thinking the Flint 4 would be a Flint 3 with a bit more speed. After using it, I think the story is a little more interesting than that. To explain why, it helps to look at where it fits in the Flint range.
The Flint 2 (GL-MT6000) was a MediaTek-based Wi-Fi 6 router with a good reputation for WireGuard performance. The Flint 3 (GL-BE9300) brought Wi-Fi 7 to the range but switched to Qualcomm. Now the Flint 4 is back on MediaTek. So although the Flint 3 came immediately before it, the Flint 4 feels more like a continuation of the Flint 2 in terms of platform.
There are some interesting differences when you put the three spec sheets together. The Flint 2 lists 1,148 Mbps on 2.4 GHz and 4,804 Mbps on 5 GHz, with two 2.5GbE ports, four gigabit LAN ports, 1 GB of RAM, 8 GB of storage and a roughly 900 Mbps WireGuard rating. The Flint 3 lists 688 / 2,882 / 5,765 Mbps across its three bands, five 2.5GbE ports, the same RAM and storage, and around 680 Mbps for WireGuard. The Flint 4 steps up to 688 / 4,323 / 8,646 Mbps, 2 GB of RAM, 64 GB of storage, six antennas, a touchscreen, 10GbE and 10G SFP+. GL.iNet rates WireGuard and OpenVPN-DCO at up to 1.5 Gbps.
One detail caught my eye: on paper, the Flint 2 actually has higher quoted rates on 2.4 and 5 GHz than the Flint 4. I wouldn’t read too much into that. They’re theoretical link rates, not the speeds you’ll get walking around the house with a phone. The Flint 4 also brings Wi-Fi 7, 6 GHz and MLO to the table. That’s why I wanted to see how it behaved in my own network, not just compare the numbers on the boxes.
My setup isn’t a typical plug-it-in-and-replace-the-old-router situation. I already have a UniFi Dream Machine SE handling routing, DHCP and firewall rules. I wanted the Flint 4 to provide Wi-Fi, connected over SFP+ and carrying the VLANs I already use. Once it was running, I noticed quite a few devices moving away from my UniFi U6 LR and connecting to the Flint instead.
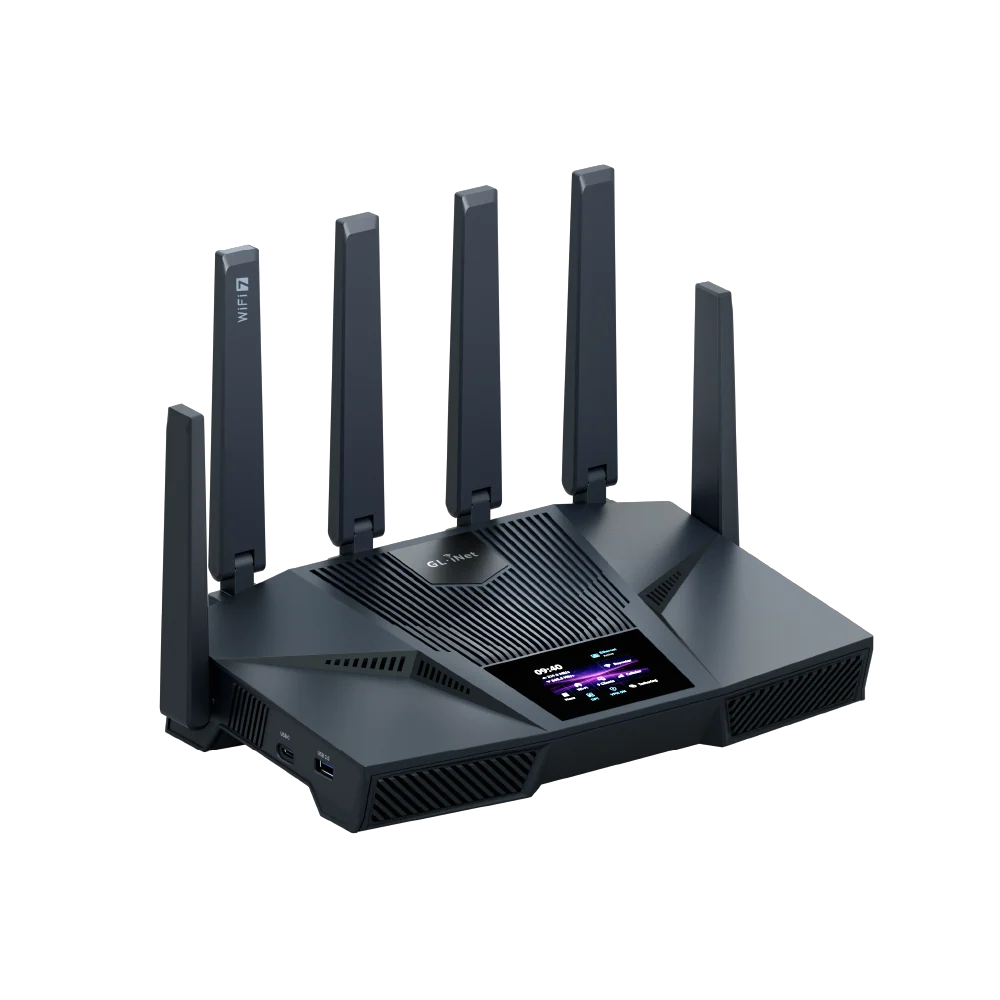
Getting Started
If you’ve set up a GL.iNet router before, you’ll be right at home here. Power it on, connect to the Wi-Fi using the details on the label and open 192.168.8.1 in your browser. Alternatively, you can connect directly through one of the LAN ports.
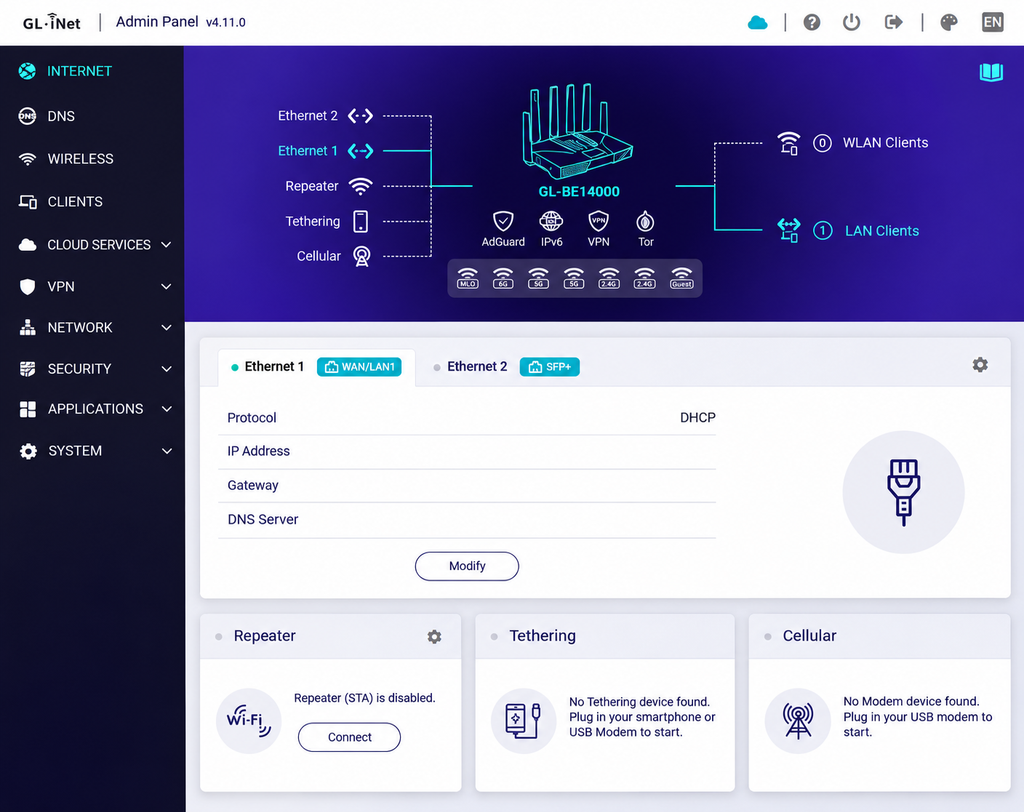
The setup wizard gets through the basics easily. Set an admin password, configure Wi-Fi and choose how you want to connect to the internet. That could be by a 10GbE, SFP+ connection, 2.5GbE WAN connection, repeater mode or USB tethering. You can come back to the more advanced options later.
The admin interface is very familiar if you’ve used a Flint 2 or Flint 3. Internet, Wireless, Clients, VPN and Applications are where you’d expect them to be. I didn’t have to hunt around to find WireGuard or Tailscale.
Behind the GL.iNet interface is OpenWrt. For everyday use, I can do almost everything in the main panel. When I need something more specific, LuCI and SSH are there. I like having that choice, especially on hardware I want to use in a less conventional way.
Hardware and Software Specifications
| Specification | Flint 4 (GL-BE14000) |
| Wi-Fi class | Tri-band Wi-Fi 7, BE14000 |
| Processor | MediaTek Filogic 880, quad-core Cortex-A73, 1.8 GHz |
| Memory | 2 GB DDR4 |
| Storage | 64 GB eMMC |
| Operating system | GL.iNet firmware based on OpenWrt 21.02, Linux 5.4 |
| 2.4 GHz | 2×2 MIMO, up to 688 Mbps |
| 5 GHz | 3×3 MIMO, up to 4,323 Mbps |
| 6 GHz | 3×3 MIMO, up to 8,646 Mbps |
| Combined theoretical Wi-Fi | 13,657 Mbps |
| Wi-Fi features | MLO, OFDMA, MU-MIMO, 4096-QAM |
| Antennas | 6 foldable external antennas |
| Rated coverage | Up to 3,100 sq ft |
| Rated clients | Up to 250 |
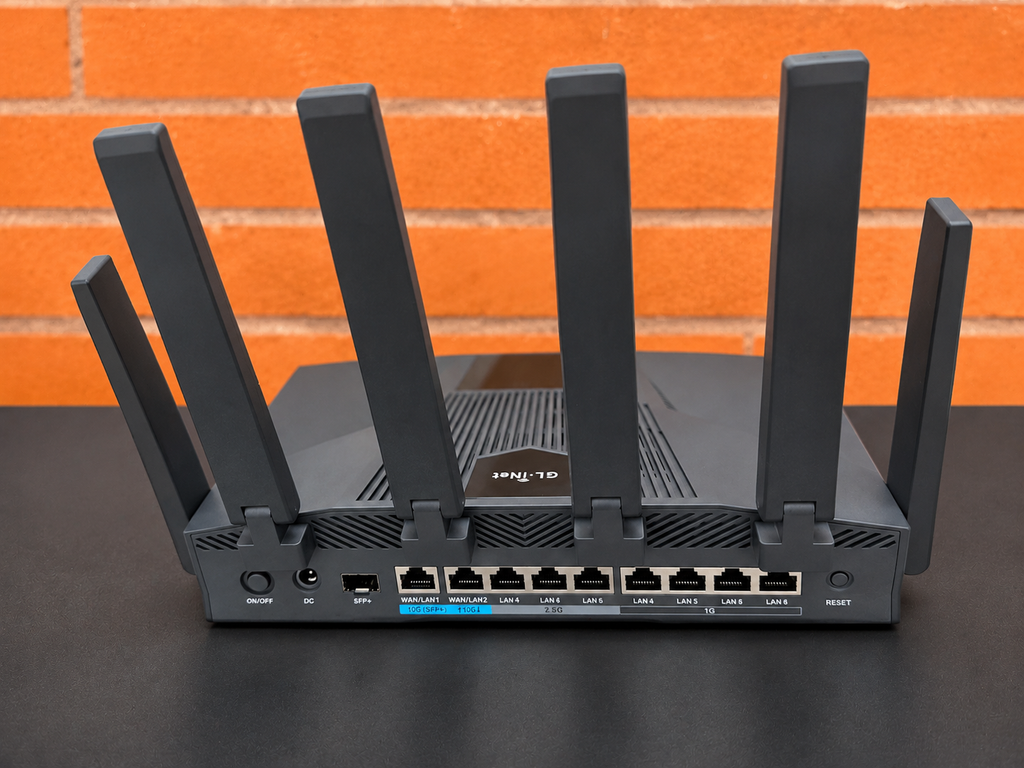
| 10GbE | 1 × RJ45 WAN/LAN |
| 10G SFP+ | 1 × WAN/LAN |
| 2.5GbE | 1 × WAN/LAN, 3 × LAN |
| Gigabit Ethernet | 4 × LAN |
| USB | USB 3.0 Type-A and Type-C |
| Display | 2.4-inch touchscreen |
| VPN | WireGuard and OpenVPN-DCO, advertised up to 1.5 Gbps |
| WAN options | Ethernet, SFP+, repeater, USB tethering, USB cellular |
| Multi-WAN | Failover |
| Operating modes | Router, access point, extender, WDS, drop-in gateway |
| Networking | VLANs, IPv6, link aggregation, QoS, SQM, DNS configuration |
| Security and filtering | AdGuard Home, parental controls, content filtering, DPI |
| Remote connectivity | GoodCloud, Tailscale, ZeroTier, AstroWarp |
| Storage sharing | Samba, WebDAV, DLNA |
| Power | 12 V / 4 A |
| Power consumption | Under 25 W without USB load; under 45 W with USB load |
| Dimensions | 293 × 172 × 76 mm |
| Weight | 1,166 g |
| Housing | ABS and polycarbonate |
| Mounting | Desktop or wall |
| Default management IP | 192.168.8.1 |
Specifications are taken directly from GL.iNet’s published GL-BE14000 documentation.
Familiar GL.iNet Features
Wireless speeds are theoretical link rates. Coverage, client capacity, and VPN performance are the manufacturer’s laboratory figures.
Most of the usual GL.iNet features are here, which is a good thing. I don’t want to relearn where all the settings are every time I try a new router.
WireGuard and OpenVPN can run as clients or servers which is great, while Tailscale and ZeroTier give you alternative ways to reach your home devices remotely. There’s AdGuard Home for DNS filtering, multi-WAN failover and drop-in gateway mode if you want to use GL.iNet features without replacing your existing gateway.
You also get policy-based VPN routing, encrypted DNS, Dynamic DNS, traffic controls, parental controls and USB file sharing. Most of these are available from the normal interface. You don’t need to open a terminal just to get started.
It’s a lot of functionality in one box. I haven’t benchmarked every feature, so I won’t pretend I have, but it’s nice that the options are there.
VLAN Support
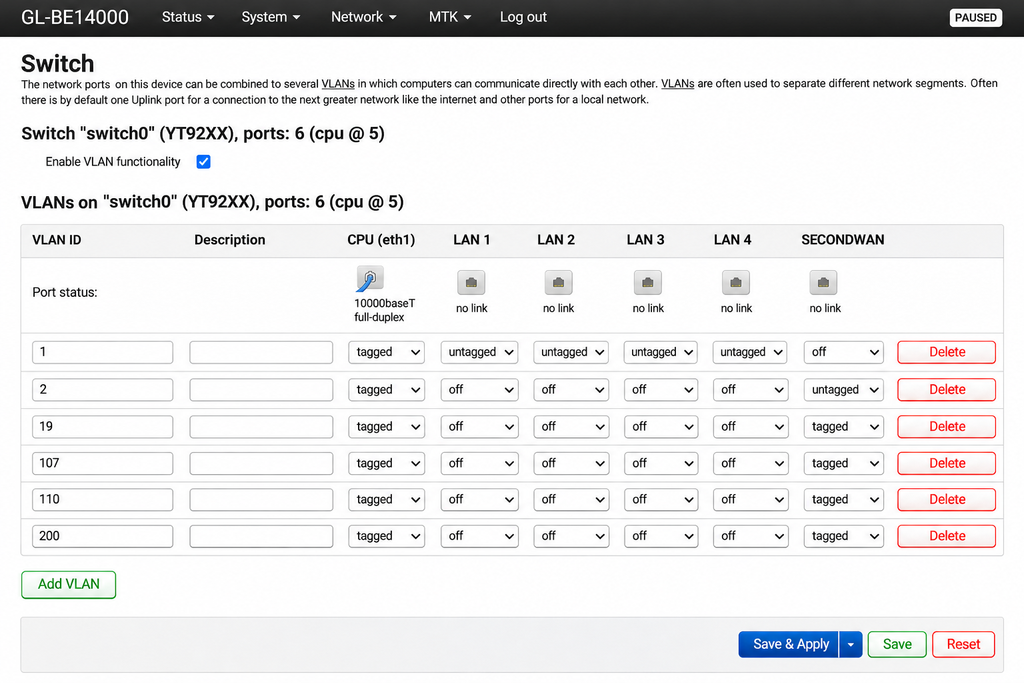
VLAN support is probably the feature I was most interested in trying.
My home network already has separate VLANs for different types of devices, all managed through UniFi. I wanted to keep that arrangement rather than create a completely separate network just because I was adding another access point.
I’ll admit the VLAN page took me a little while to get my head around. I was used to how UniFi presents things, and GL.iNet approaches it differently. Once I understood how the network, port and SSID fit together, though, it became fairly straightforward. I could create the VLAN, attach it where I needed it and make later changes in the GUI instead of editing OpenWrt files each time.
That’s a useful step forward. Guest Wi-Fi, IoT devices and a separate management network aren’t unusual even in a home setup now. Being able to manage them from the standard interface makes the Flint 4 much more appealing to someone like me.
Mesh Networking
I also tried the mesh feature with a Beryl AX, Slate 7 and Slate 7 Pro. All three joined and passed traffic, which was good to see. If you already have a few GL.iNet travel routers, this could be a handy way to make use of them around the house.
There’s one control I’d still like: the ability to set each mesh node’s own management IP address. I’m talking about the address used to access each node’s admin page. When I’m troubleshooting, I like knowing exactly where to find each device, but I couldn’t configure that address through the mesh GUI.
It won’t bother everyone, and it didn’t stop the mesh from working. But with several nodes, I’d really appreciate having that option.
Firmware and Interface Customisation
I also ran into a small annoyance with firmware updates, although there’s an important distinction here.
The settings I made through GL.iNet’s normal admin interface were fine. With Keep Settings enabled, my Wi-Fi names and VLAN bridges remained after upgrading. I didn’t lose the actual router configuration.
What I did lose were changes I’d made myself over SSH to GL.iNet’s interface files, including the wireless page, admin menu and language strings. Those edits survive a reboot, but a firmware update replaces the files with the versions from the new image. So the changes disappear.
I understand why that happens. They’re manual edits to files GL.iNet ships, not supported GUI settings. Still, it would be great to have a way to preserve or reapply those interface tweaks without doing the work again after each update.
The 2.4-Inch Touchscreen
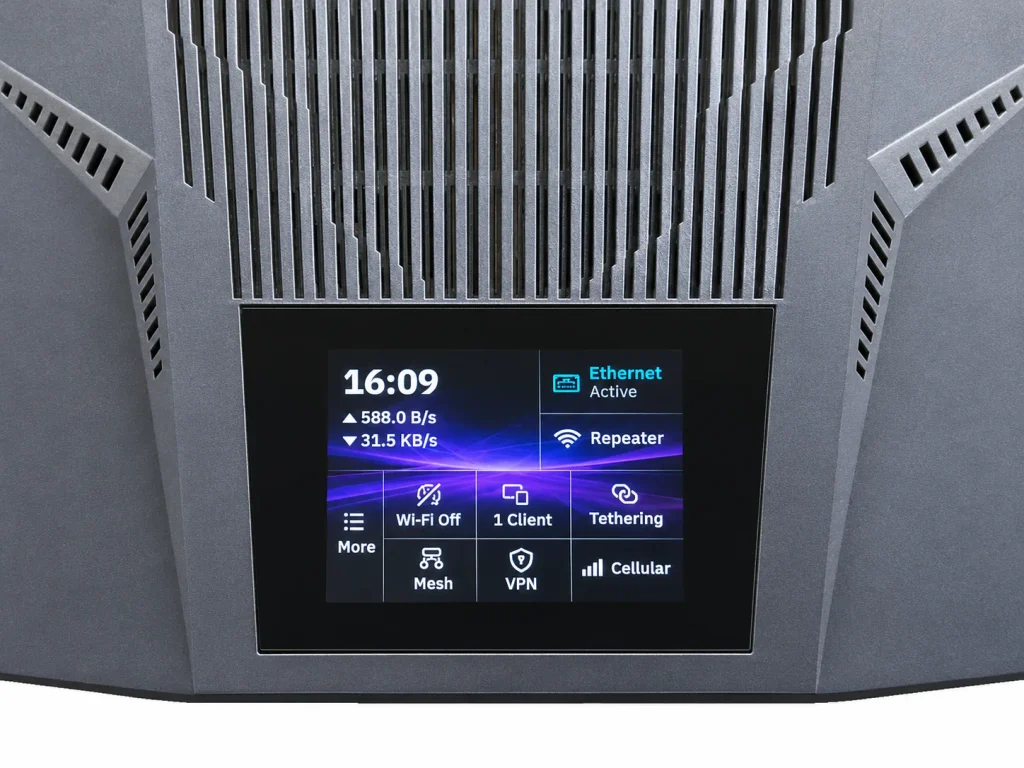
The Flint 4 also has a 2.4-inch touchscreen. I wasn’t sure how useful I’d find a screen on a router, but it does give you a quick way to check what’s happening without opening the web interface.
The home screen has tiles for Ethernet, repeater, cellular, Wi-Fi, clients, DPI and VPN. Blue generally indicates something is active, yellow flags a connection in progress or a problem, and white means it’s idle.
Tap Clients and you can see the device list. The Wi-Fi tile shows the main, guest, IoT and MLO networks. DPI gives you traffic and filtering information. VPN status appears once you’ve configured a tunnel through the web interface.
It’s handy during setup or when you just want to check something quickly. Once everything is up and running, though, I’m not sure how often I’d actually use it.
Integrating the Flint 4 into UniFi
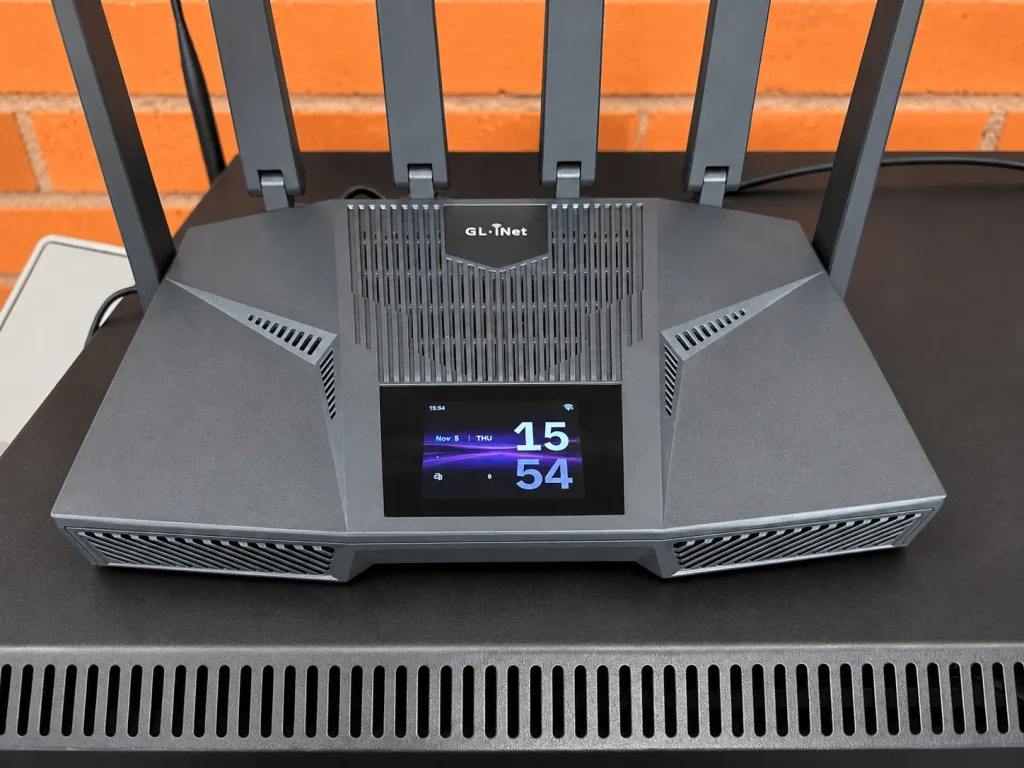
This was the part I was most keen to try. I wasn’t looking to replace my Dream Machine SE with the Flint 4. I wanted to see whether it could slot into the network I already have and behave like an access point.
That meant leaving routing, DHCP, firewall rules and VLAN management with UniFi, while letting the Flint handle the wireless side.
I connected the Flint over its 10G SFP+ interface and configured four SSIDs to carry four of my existing VLANs. Devices joining those networks still get their IP addresses from the UDM SE and follow the same firewall rules as before. The Flint itself has an address only on my management VLAN, so I can get to its admin page without introducing another router or DHCP server.
It wasn’t quite as simple as switching on GL.iNet’s standard access-point mode. That mode didn’t automatically give me the VLAN passthrough I wanted, so I had to do some extra configuration. Once it was set up, though, devices were ending up on the right networks and behaving as expected.
For anyone already running UniFi, Omada or another VLAN-aware setup, I think that’s a useful option. You can keep the gateway you know and use the Flint 4 for its wireless hardware.
Wi-Fi Performance
One thing I noticed almost immediately was a change in which access point my devices were choosing.
Before the Flint arrived, quite a few clients were connected to my UniFi U6 LR. After I set up the same SSIDs on the Flint 4, a number of them moved across and stayed connected. I hadn’t moved those devices around the house. They simply had another access point to choose from.
That caught my attention because the U6 LR is designed for good coverage. Of course, clients make their own roaming decisions, so I wouldn’t claim that this proves the Flint 4 has better range or is faster. But as an everyday observation, it was a pleasant surprise. The Flint has fitted into my network well, and I haven’t needed a formal signal survey to appreciate that.
Final Thoughts
What I can say already is that the Flint 4 has been a good fit for the way I wanted to use it. The 10G SFP+ connection, Wi-Fi 7 and VLAN options let me add it to an existing network without handing over routing or DHCP. The mesh testing worked with the three devices I tried, and the GUI made VLAN setup easier once I’d learned its approach. I’d still like more control over mesh management addresses and a better way to keep my interface tweaks after updates.
If you’re coming from a Flint 2, the obvious upgrades are Wi-Fi 7, 6 GHz and the 10-gigabit connectivity, along with the extra memory and storage. The older router’s higher quoted rates on 2.4 and 5 GHz are still only link-rate numbers. Coming from a Flint 3 is a different decision: you’re looking at a move from Qualcomm back to MediaTek, more memory and storage, and a higher advertised VPN rating. I tested mesh with a Beryl AX, Slate 7 and Slate 7 Pro. I haven’t tested a Flint 2 as a mesh node, so I can’t comment on that combination.
Overall, I’ve enjoyed using the Flint 4. For my setup, the real appeal is being able to use its Wi-Fi 7 hardware and 10G SFP+ connection without replacing the UniFi gateway I already trust. There are a few things I’d like GL.iNet to improve, but the flexibility is what makes this router interesting to me.
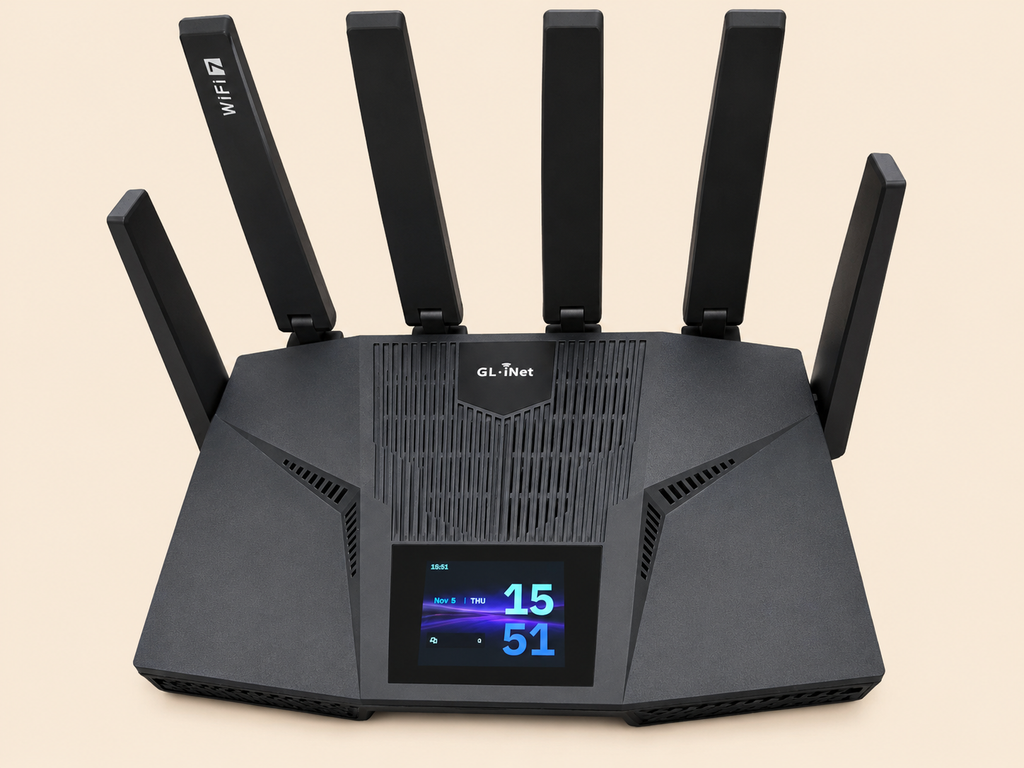
Editor’s note: This is a hands-on account of my setup and experience, not a controlled wireless or VPN benchmark. Manufacturer performance figures are attributed to GL.iNet.

Related Posts
Comments (0)